Learning how to setup WordPress REST API draft post creation requires sending an HTTP POST request to the /wp-json/wp/v2/posts endpoint with an authorization header and a JSON body. The payload must include keys for title, content, and explicitly set status to draft. WordPress processes the request and returns a 201 Created response, placing the new article in your admin dashboard without publishing it to the live site.
You end up with a fully formatted article sitting safely in the WordPress editor. From there, you can review the formatting, check the layout, and hit publish manually. Before starting, you need a functioning WordPress site with the REST API enabled, an administrator or author account, and a tool capable of sending HTTP requests to the server.
- Generate an application password. The WordPress REST API uses Basic Authentication, which rejects your normal login password. Go to Users, Profile in the WordPress admin area. Scroll down to Application Passwords, type a name for the connection, and click Add New Application Password. Copy the 24-character string. The process is complete when you have a string that looks like
abcd efgh ijkl mnop qrst uvwx. If you get stuck, read how to generate a WordPress application password for REST API access. - Build and encode the authorization string. Combine your exact WordPress username and the application password with a single colon separating them, formatted as
admin:abcd efgh ijkl mnop qrst uvwx. Encode this exact string into Base64 format. You know this is done when you have a long alphanumeric string ending in an equals sign, such asYWRtaW46YWJjZCBlZmdoIGlqa2wgbW5vcCBxcnN0IHV2d3g=. - Construct the JSON payload for a draft. Create a JSON object defining the post details. Include
"title": "Your Post Title"and"content": "<p>Your HTML content</p>". To ensure the post stays unpublished, add"status": "draft". This step is finished when you have a valid JSON document containing these three specific keys. - Assign categories and tags using integer IDs. The API rejects text names for all taxonomies. Find your category ID by checking the
tag_IDparameter in the WordPress category edit URL. Add"categories": [4]to your JSON object. The payload is ready when all taxonomies are formatted as arrays of numbers. - Format the HTTP headers. Create an
Authorizationheader with the valueBasicfollowed by a space and your Base64 string. Create aContent-Typeheader with the valueapplication/json. The headers are complete when both are attached to your HTTP client configuration. - Send the HTTP POST request. Direct the client to
https://yourdomain.com/wp-json/wp/v2/posts. You must use the POST method for creation. If you use GET by accident, WordPress returns a list of existing posts instead of creating one. This step is done when the client executes the network call. - Verify the server response. Check the HTTP status code returned by the server. The process is successful when the server responds with a 201 Created status code. The response body will contain the new post ID, confirming the draft sits in your WordPress dashboard.
Mistakes people make when setting up WordPress REST API drafts

Many developers struggle with server configuration blocking the authorization header. Apache and LiteSpeed servers often strip the Authorization header from incoming HTTP requests for security reasons. When this happens, WordPress receives the request without credentials and returns a 401 Unauthorized error. I fix this by adding a directive to the site's .htaccess file. You need to write CGIPassAuth On or RewriteRule .* - [E=HTTP_AUTHORIZATION:%{HTTP:Authorization}] to force the server to pass the header through to PHP.
Another frequent mistake is sending form-encoded data instead of JSON. The WordPress REST API expects a strict JSON payload for post creation. If your HTTP client defaults to application/x-www-form-urlencoded or multipart/form-data, WordPress will fail to parse the content correctly. You might end up with a blank draft post or a 400 Bad Request error. I always set the Content-Type header to application/json and verify the payload is serialized as a JSON string before sending.
Failing to escape HTML within the JSON payload causes the request to break entirely. The content field usually contains HTML tags, quotation marks, and line breaks. If you do not escape the internal quotation marks with a backslash, the JSON becomes invalid. The server cannot read it and drops the connection. Programming languages handle this automatically when you serialize an object to JSON. If you construct the JSON manually in a terminal, you must escape every double quote inside the content string.
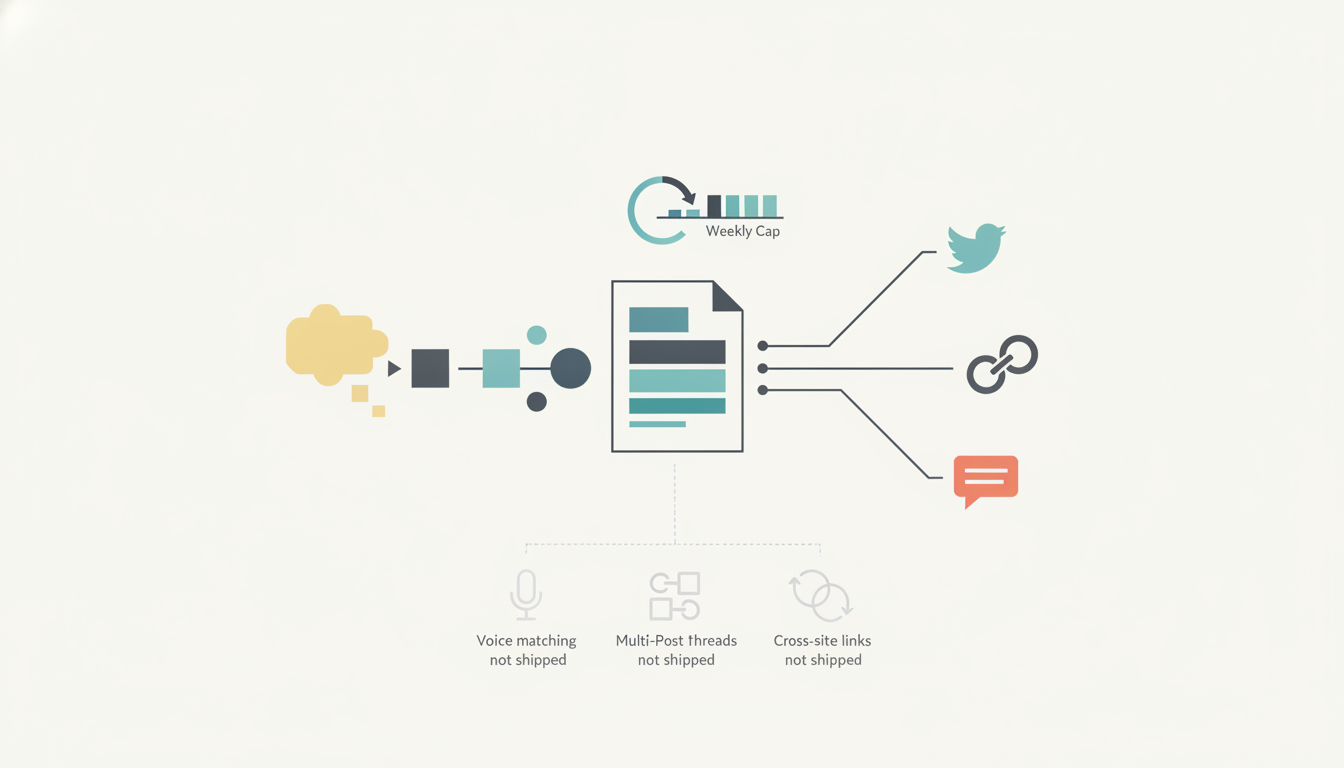
Leaving out the status field is a subtle error. The REST API defaults to assigning the draft status to new posts if you omit the status key. Relying on defaults is risky. If an API update changes the default behavior, your scripts might start publishing unfinished posts directly to your live site. I set "status": "draft" explicitly to guarantee the article remains hidden. AmplifySignal uses this explicit draft status when it pushes generated articles to WordPress or Ghost, ensuring the review hold works perfectly before any post schedules or goes live.
Passing category slugs instead of IDs confuses the taxonomy system. Developers often try to send "categories": ["tutorials"] in the payload. WordPress rejects this because the database schema requires integer IDs to link posts and categories. The API will ignore the text strings, and your draft will default to the Uncategorized category. You must look up the numeric ID for each category and tag in the admin dashboard and pass them as an array of integers.
Targeting the wrong API endpoint happens when custom post types are involved. The /wp-json/wp/v2/posts endpoint only handles standard blog posts. If you want to create a draft for a portfolio item, a WooCommerce product, or a custom landing page, you must use the specific route registered for that post type. For example, creating a drafted product requires a POST request to /wp-json/wp/v2/product or the specific WooCommerce API routes. The standard post route will not accept data intended for custom post types.
Executing the REST API request from a browser-based frontend application introduces CORS errors. If you write a JavaScript fetch request to create a draft post from a different domain, the browser will block the request. The WordPress server must explicitly allow the origin domain by setting the Access-Control-Allow-Origin headers. You fix this by adding a PHP function to your theme or using a CORS plugin to whitelist your frontend domain. This issue does not occur when calling the API from a backend server or terminal script.
A complete worked example for a draft post
You can test the entire process using a terminal and cURL. This approach requires no programming language, just a command line interface. First, you need your Base64 encoded credentials. If your username is admin and your application password is abcd efgh ijkl mnop qrst uvwx, you encode the string admin:abcd efgh ijkl mnop qrst uvwx. On macOS or Linux, you type echo -n "admin:abcd efgh ijkl mnop qrst uvwx" | base64 in the terminal. The output is your authorization token.
Next, you write the cURL command. You declare the HTTP method with the -X POST flag. You add the endpoint URL. You pass the two required headers using the -H flag. Finally, you attach the JSON payload using the -d flag, ensuring you escape the internal quotes carefully.
Here is the exact cURL command to create a draft post.
curl -X POST https://yourdomain.com/wp-json/wp/v2/posts \
-H "Content-Type: application/json" \
-H "Authorization: Basic YWRtaW46YWJjZCBlZmdoIGlqa2wgbW5vcCBxcnN0IHV2d3g=" \
-d '{
  "title": "My API Draft",
  "content": "<p>This is the first paragraph of my drafted article.</p>",
  "status": "draft",
  "categories": [4],
  "tags": [12, 15]
}'
When you press enter, cURL connects to your server. If the credentials and JSON are valid, the terminal prints a large block of JSON data returned by WordPress. This response includes "id": 105, confirming the post exists in the database. You can then log into your WordPress admin panel, click on Posts, and see the draft sitting at the top of the list.
I use Python to automate this exact payload generation. The logic remains the same, but the language handles the encoding and JSON serialization for you. You need the requests library installed in your Python environment.
Here is the complete Python script to create the same draft post.
import requests
import base64
import json

url = "https://yourdomain.com/wp-json/wp/v2/posts"
username = "admin"
password = "abcd efgh ijkl mnop qrst uvwx"

credentials = username + ":" + password
token = base64.b64encode(credentials.encode()).decode("utf-8")

headers = {
    "Authorization": "Basic " + token,
    "Content-Type": "application/json"
}

payload = {
    "title": "My Python API Draft",
    "content": "<p>This article was drafted via Python.</p>",
    "status": "draft",
    "categories": [4]
}

response = requests.post(url, headers=headers, data=json.dumps(payload))

print(response.status_code)
print(response.json().get("id"))
You run this script by typing python draft_post.py in your terminal. The script builds the basic auth token from the raw username and password strings. It converts the Python dictionary into a properly escaped JSON string using the json.dumps() method. It sends the POST request and prints the HTTP status code.
Checking the response status code is necessary for debugging. If the script prints 401, you have an authentication failure. Your username might be wrong, the application password might be revoked, or the server is stripping the authorization header. If it prints 400, your JSON payload is invalid. Catching these specific error codes prevents your script from failing silently. If everything is correct, the terminal outputs 201 followed by the new post ID. The article is now saved in your WordPress database, waiting for manual review. AmplifySignal automates this exact HTTP request from your chosen keywords, placing the finished draft in your site while adhering to the review hold configuration you define.